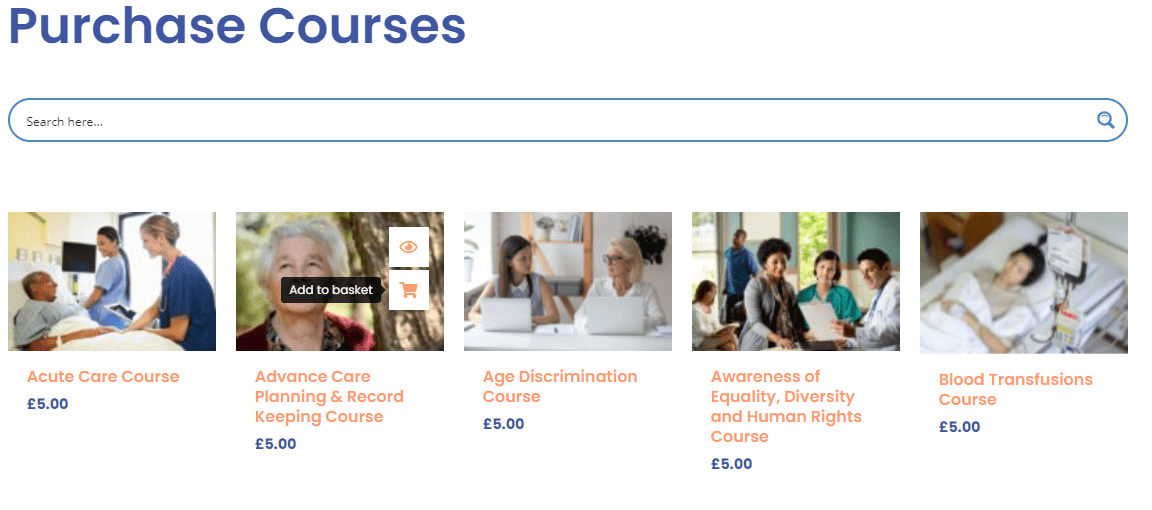

Browse, search, view and add to the cart from the course page. You will be able to quick view, or quick add courses via the buttons.
If you would prefer a group of courses to be set up for purchase fill out the course bundle request form and we will arrange this for you. An example of this is you may want all your induction courses in one group, just add a students name to the group, and all the courses will be allocated instantly in one go to the student(S)
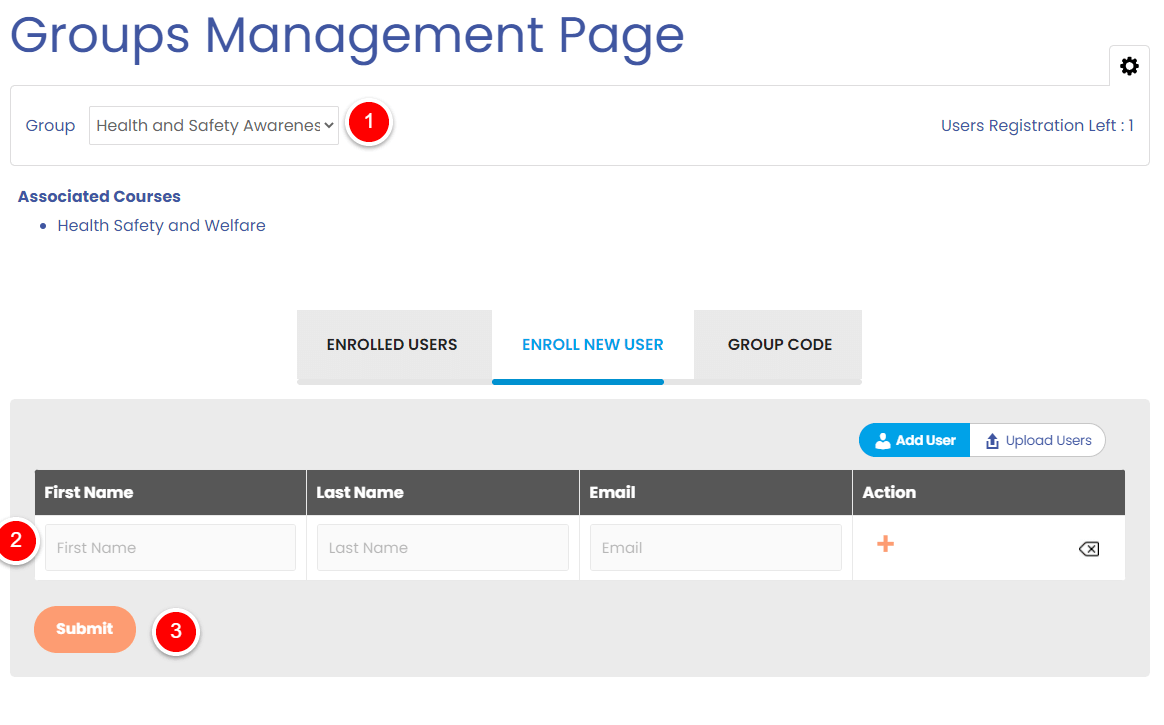
You can change the group name via the cog on the top right of the page.
You can also add several users at one time via the upload user button.
You can also see how many enrolments are left. To add more simply purchase more courses and it will add accordingly.
The Course report
You will get an overview for the entire group including course progress, quiz results and to view more details
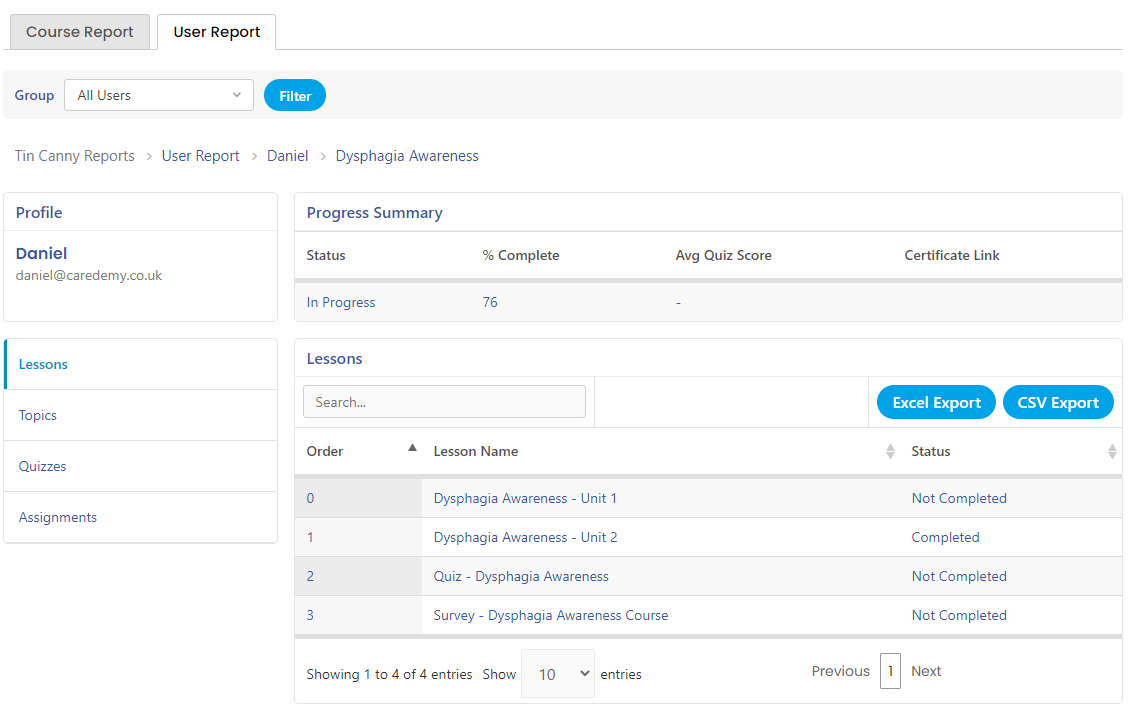
User Report
You will get an overview for the student including course progress, quiz results, certificates and to view more details
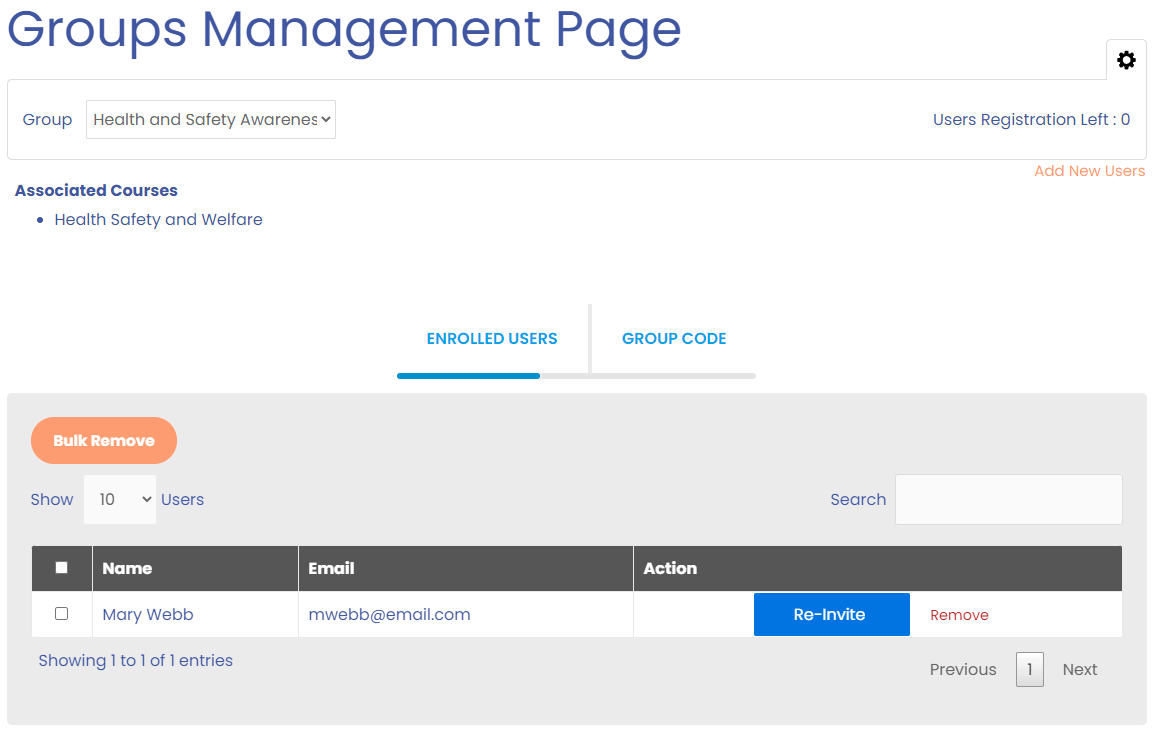
From this screen you will be able to remove users from a group and re-invite them, this will resend the student’s login to their email address.
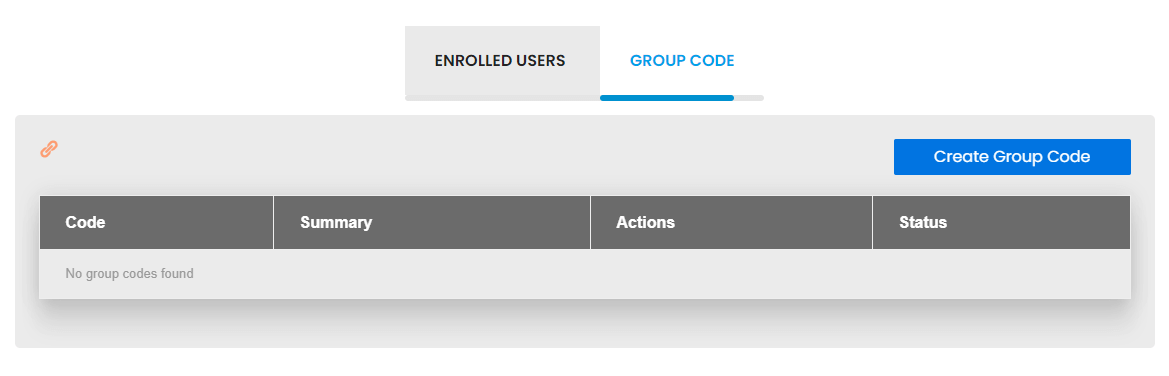
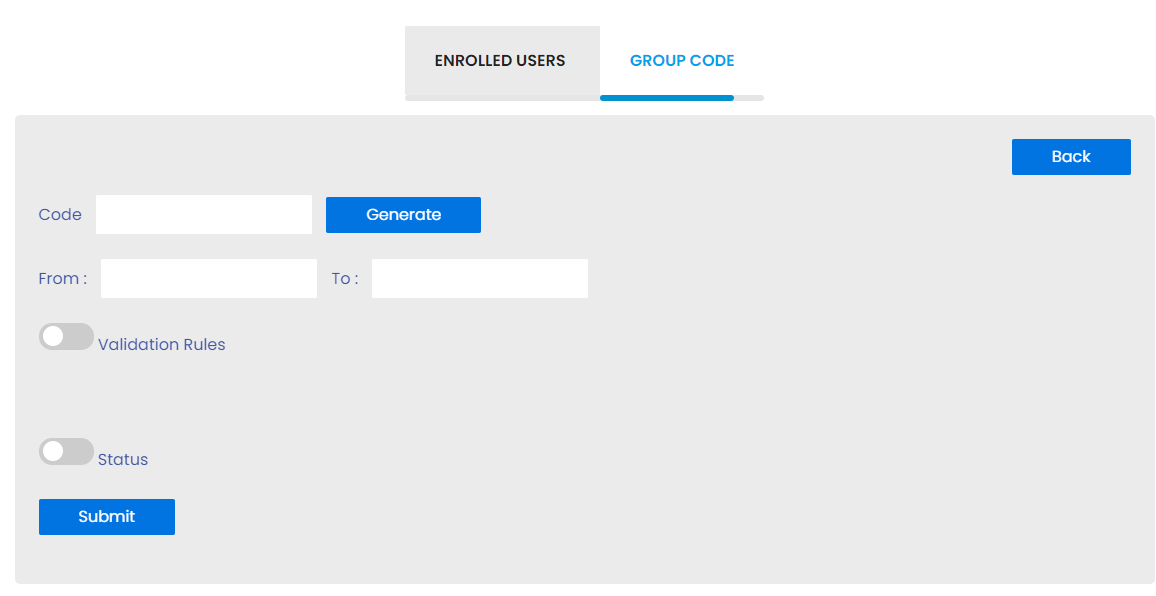
Group codes is an alternative to directly entering a learners name and email for enrolment. It enables you to create a code of your choice and will allocate a course or a group of courses to your learners. Once the learner has received their code, they can enrol as a user on the learner enrolment page.
As a privileged subscriber, enjoy first dibs on top-value course deals, economical bundles (like £25 for 12 Essential Care Skills), and up to 51% discount on your professional growth. Also, get early alerts on our free courses!


At our Care Skills Academy, we specialise in CPD accredited online courses for both individual and business needs. Crafted by experts and endorsed by Skills for Care as a training provider, our courses marry affordability with high quality, aligning with the care frameworks. We’re committed to delivering exceptional value, ensuring top-notch professional development in the care and other sectors.
Help and Support
Sales Enquiries
Official CPD Course Training.
We are an official, certified provider of online training courses.
This form is to amend a mistype of the learner's email address or name